| |
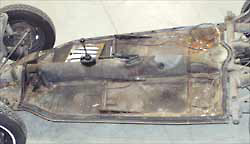
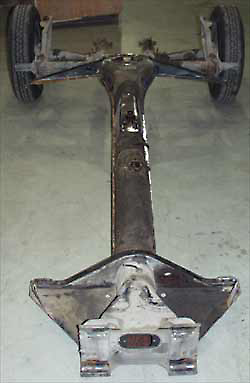
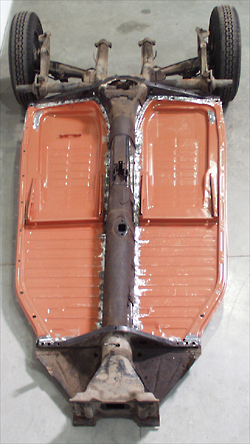
| With
the body removed, we have reduced our convertible Beetle to a
mere rolling chassis. |
 |
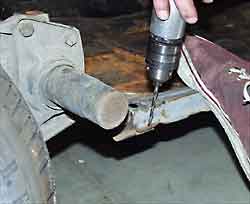
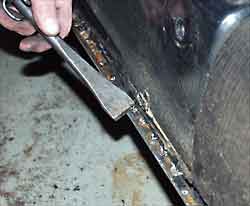
| This
is the only area where a drill comes in handy, the air chisel
will do more damage to this area than necessary. Use a drill and
drill out the spot welds on both sides. |
 |
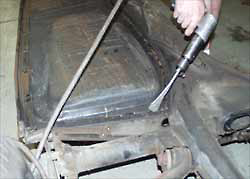
We
used a die grinder with a cut-off wheel attached to free the front
portion of the floor pan as it attaches to the front bulk-
head. |
 |
| Half-way
done, yippee!! |
 |
With
the tunnel portion separ-
ated, we proceed to remove the rear cross-member section. |
 |
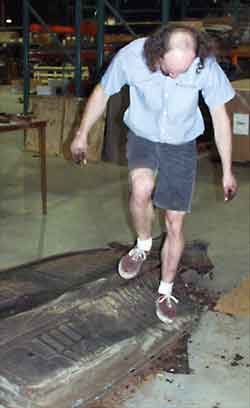
Mark
is currently auditioning for the hit Broadway sensation "Stop",so
he figured he could get a few licks of practice breaking some
spot welds free! We tried telling him that the air hammer method
is far more superior to Vans tennis shoes, but he in-
sisted. |
 |
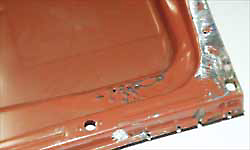
Here
is a good view of the
center tunnel fringe with old pan removed. Notice all of the spot
welds, which will need to be ground free of debris, rust and high
spots. |
 |
| The
battery section was really bad, giving us a clear shot at removing
the remnants from the cross-member fringe. |
 |
| And
you thought Calista Flockhart was skinny!! |
 |
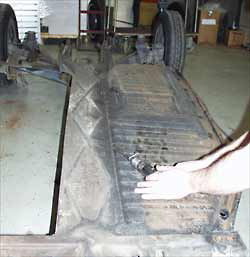
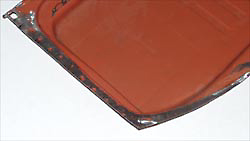
We
utilized the cross-members from the original pan, here is a view
of the replacement floor pan with the cross-member sec-
tion removed. |
 |
|
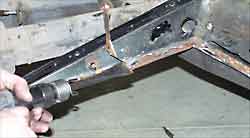
Since
we are working on a con-
vertible model, we needed to remove the rear jack outlets.
|
 |
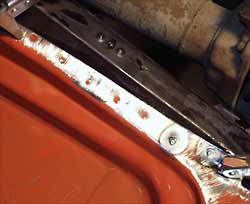
| Clamped
and Plug welded. |
 |
|
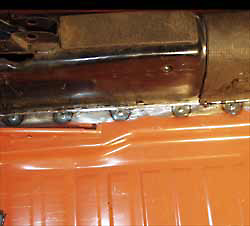
Unless
you have a set of long reach vice-grips, have an as-
sistant hold the pan tin firm against the tunnel lip while you
weld.
|
 |
Finished
and ready for the pow-
der coating! Well, almost, we still need to remove the rear wheels
and torsion arms. |
 |
|